
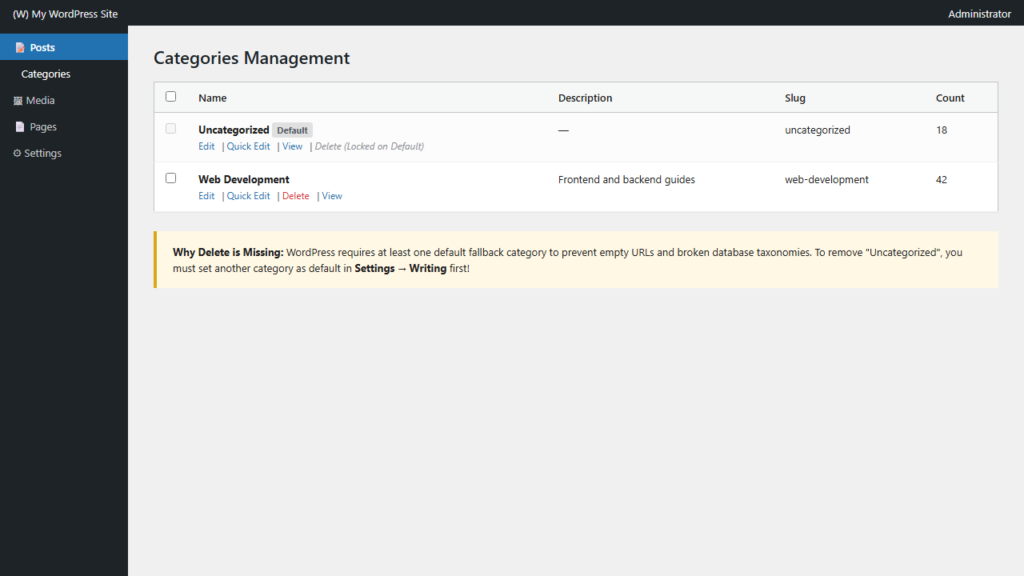
Ever wondered why WordPress insists on tagging your articles with Uncategorized the moment you forget to assign a topic? In WordPress, categories are a foundational hierarchical taxonomy governed strictly at the database schema level. Understanding why this default fallback exists—and how to permanently customize or rename it—is essential for clean SEO and a professional publishing workflow.
Why WordPress Enforces a Default Category
In standard WordPress database architecture documented in the WordPress Database Description, content organization relies on relational tables (wp_terms, wp_term_taxonomy, and wp_term_relationships). While custom post types can be taxonomy-independent, standard blog posts (post_type = 'post') require at least one category assignment for routing, RSS feed syndication, and permalink rewriting.
If you hit Publish without selecting a topic, the WordPress core execution loop reads the option default_category from the wp_options table and automatically hooks the post to that term. When WordPress is first installed, this initial term ID 1 is labeled Uncategorized with the slug uncategorized.
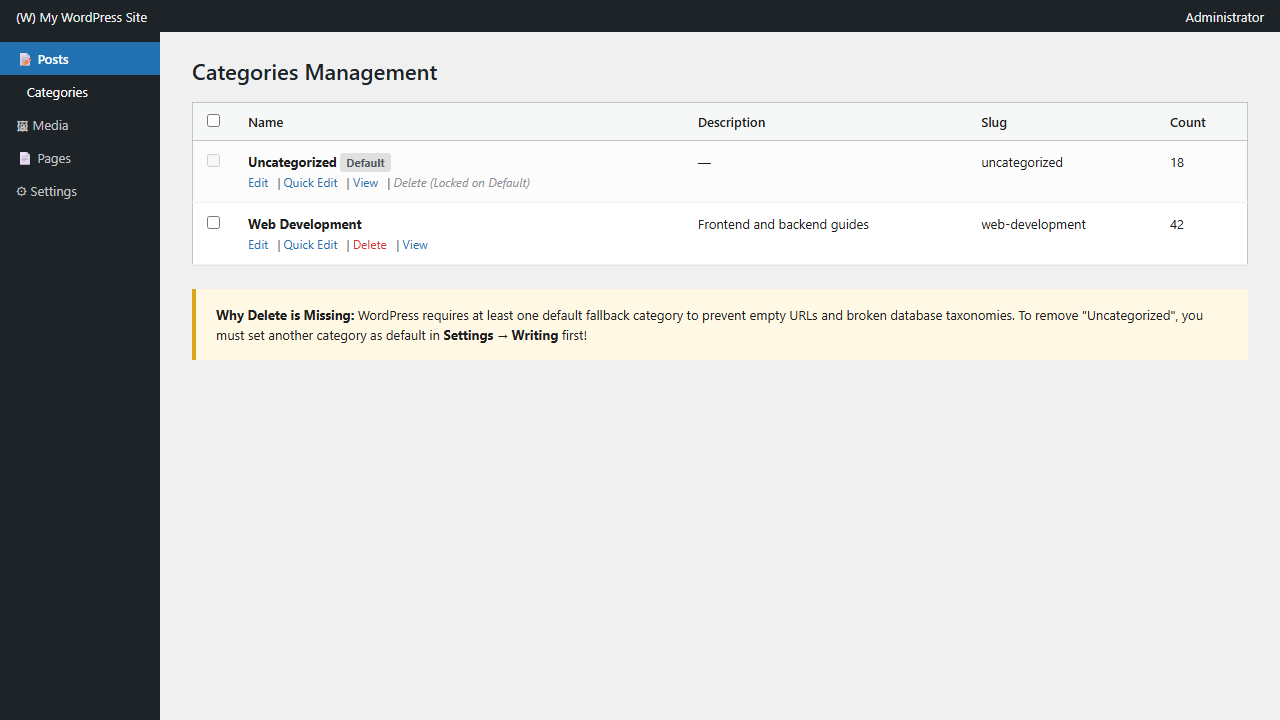
Why You Cannot Delete the Default Category
If you navigate to Posts > Categories in your WordPress dashboard, hover over your custom categories and you will see four actions: Edit, Quick Edit, Delete, and View. However, when you hover over the designated default category, the Delete button is completely absent. Official guidelines on the WordPress Posts Categories Screen explain that WordPress forbids deleting the default fallback to avoid orphaned records in wp_term_relationships.
To eliminate “Uncategorized” across your blog and permalinks, you have two proven solutions:
Method 1: Rename “Uncategorized” to a Brand-Relevant Catch-All
The quickest way to solve the visual and SEO problem without touching configuration settings is to repurpose term ID 1:
- Go to Posts > Categories in the admin sidebar.
- Locate Uncategorized and click Edit.
- Change the Name to a natural general topic like General Tech, News, or Industry Updates.
- Change the Slug to match (e.g.,
general-tech). - Click Update.
All historical posts previously labeled “Uncategorized” will now neatly display your updated category name, and old URL redirects can be handled automatically by your server or rewrite rules.
Method 2: Assign a New Default Category in Writing Settings
If you already have existing categories and want one of them to become the primary fallback, you can reassign the default pointer. For detailed step-by-step instructions, see our comprehensive guide on how to change the default post category in WordPress.
- Verify you have created your desired alternative category under Posts > Categories.
- Head to Settings > Writing.
- Find the Default Post Category dropdown menu.
- Select your preferred category and click Save Changes at the bottom.
- Return to Posts > Categories: the Delete link will now appear on “Uncategorized” because it is no longer the locked default fallback!
Cleaning Up Existing Posts
Changing the default fallback only applies to future posts created without a category. If you already have dozens of older published articles showing both your new category and “Uncategorized”, you can clean them up in seconds. Learn how to remove a category from multiple WordPress posts using native Quick Edit and Bulk Actions, or explore how to add a category to multiple WordPress posts at once to restructure your taxonomy archives efficiently.
