
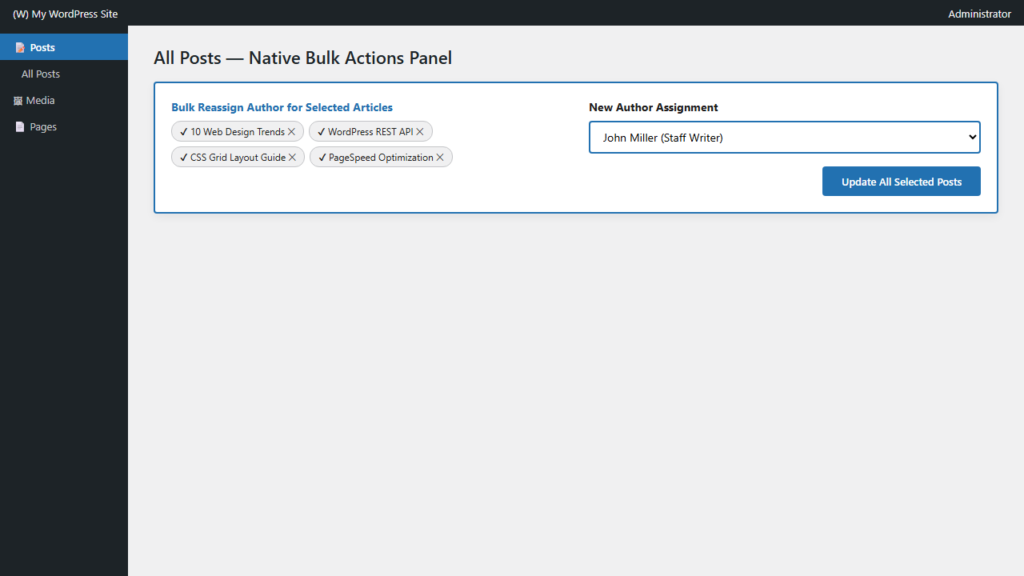
Managing author attributions across large content libraries can become a major headache when team members transition or guest posts need bulk reassignment. Manually opening each article in the editor wastes hours. Fortunately, WordPress features a robust native Bulk Edit suite that enables you to reassign dozens or hundreds of published posts in seconds—with zero plugins required.
WordPress Core Bulk Actions Architecture
Under the official WordPress Posts Screen Bulk Actions Documentation, WordPress provides administrative tools to execute mass updates across posts. By combining the posts per page configuration in Screen Options with bulk metadata processing, administrators can reassign hundreds of database records in a single transactional request.
Step 1: Increase Posts Per Page via Screen Options
By default, WordPress displays 20 posts per page. If you have 80 or 150 posts to reassign, expanding this view eliminates pagination friction as described in the official WordPress Screen Options Overview:
- Go to Posts > All Posts in your dashboard.
- Click the Screen Options tab in the extreme top right corner of the screen.
- In the Number of items per page field, change
20to100(or up to200depending on your server resources). - Click Apply. Your table will instantly refresh showing up to 100 posts on a single screen.
Step 2: Filter and Select Posts for Reassignment
To target posts belonging to a specific outgoing writer:
- Use the top dropdown filters or simply click on the existing author’s name in the post list table to filter strictly by that user’s content.
- Select the master checkbox next to Title in the table header to check every displayed post at once (or manually check specific post rows).
- Click the Bulk actions dropdown menu above the table and select Edit.
- Click the Apply button. The native WordPress Bulk Edit control panel will expand across the top of your post list.
Step 3: Reassign Author and Save Changes
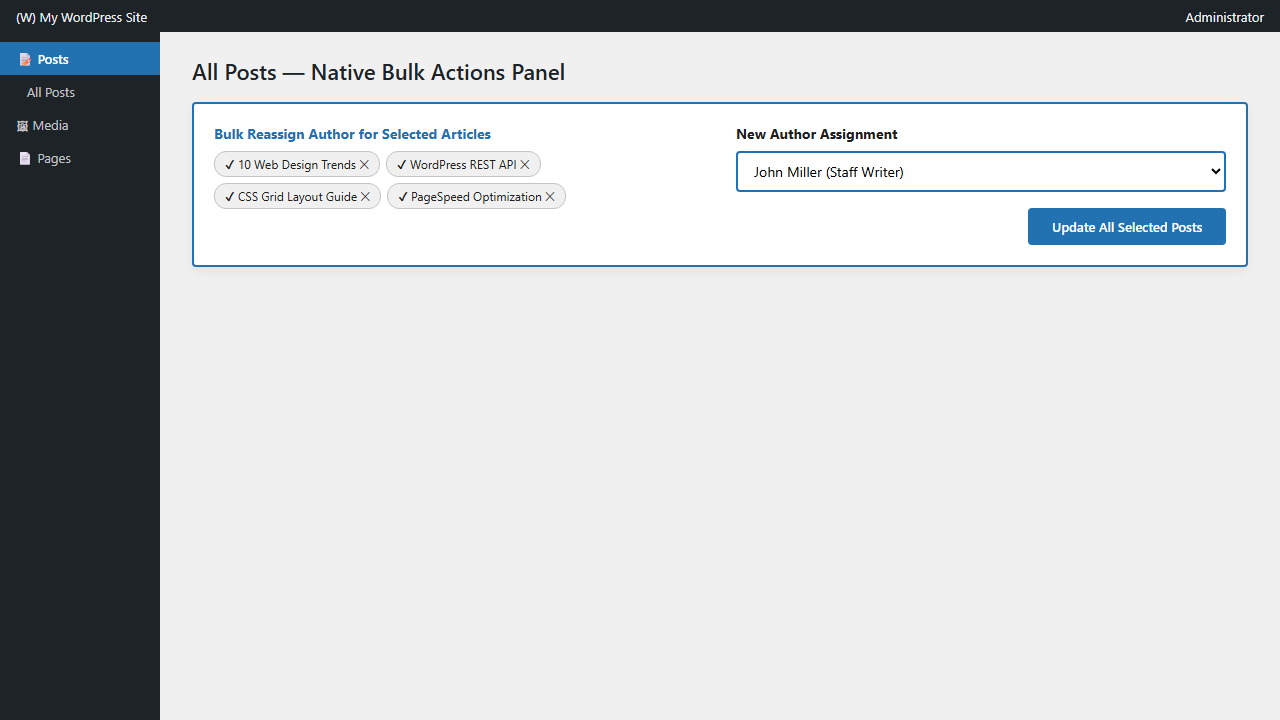
Inside the Bulk Edit panel, you will see a list of selected post titles on the left and various attribute dropdowns on the right:
- Locate the Author dropdown menu. By default, it says —No Change—.
- Click the dropdown and select the replacement author account.
- Ensure other fields (Categories, Comments, Status, Pings) remain untouched at —No Change— so their existing values are preserved intact.
- Click Update on the lower right of the panel.
WordPress will loop through all selected posts in the database, updating the post_author field in the wp_posts table. The page reloads showing all articles successfully reassigned to the new author!
Related Taxonomy & Management Workflows
The exact same bulk interface can be leveraged for site-wide taxonomy cleanup. If you are also reorganizing blog categories, read our step-by-step guides on how to add a category to multiple WordPress posts at once and how to remove a category from multiple WordPress posts. Need to change an author on a single post instead? Check out how to change a WordPress post author without a plugin.
